使用ps软件,怎么将图片添加光斑效果呢?想必有很多朋友还不知道,那么今天小编就为大家带来了ps图片添加光斑效果的教程哦,大家一起来看看吧。
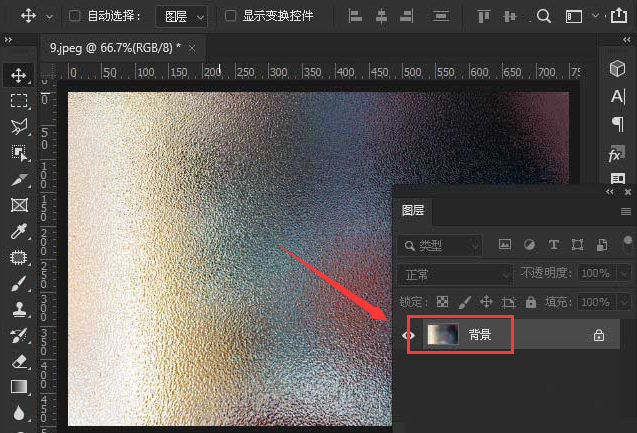
1.首先,在ps软件中插入一张磨砂玻璃效果的图片作为图层背景
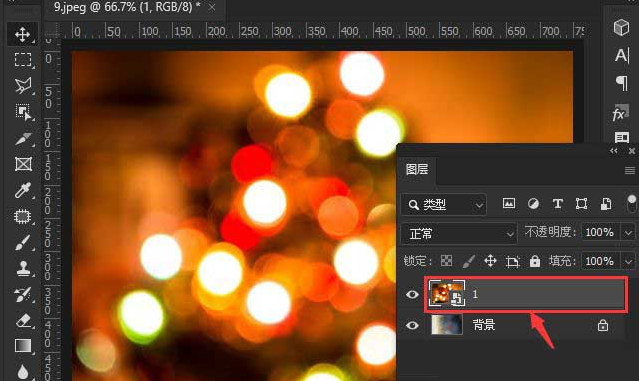
2.随后在背景图层上方拖入一个光斑效果图
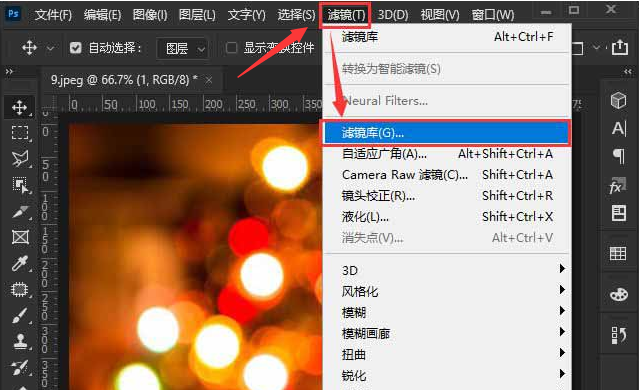
3.点击打开滤镜菜单中的滤镜库窗口
4.选择纹理栏目下的颗粒滤镜,如下图所示修改参数后,点击确定保存

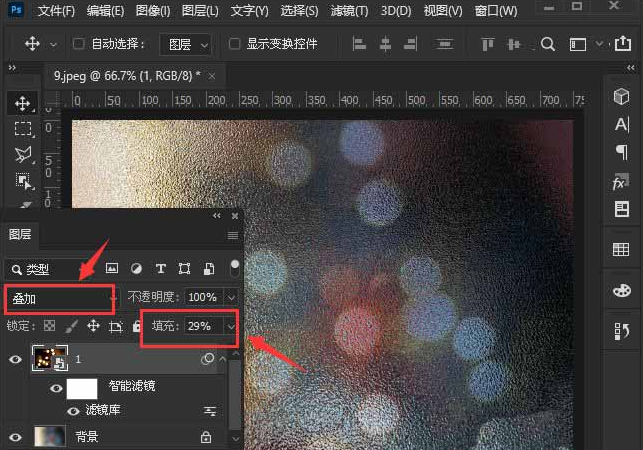
5.最后将图层模式修改为叠加,填充调整为29%即可
以上就是小编带来的ps图片添加光斑效果教程,希望可以帮助到大家哦。
版权声明:本文章为网络收集,不代表本站立场。文章及其配图仅供学习分享之用,如有内容图片侵权或者其他问题,请联系本站作侵删。